Godot Rendering Pipelines
I like using Godot a lot for making games, it’s pretty intuitive and easy to use, while allowing a lot of shortcuts thanks to GDL. Today, I’m going to talk about the rendering side, more specifically how to make pipelines for more advanced effects.
For some background info, I am a 3D programmer interested in expressive rendering, which means this articles is going to be filtered through that lens. That means I’m a lot closer to the technical side, and thus some of the uses might not be immediately obvious.
Godot itself has a few particularities on the rendering side, the main one being using a forward renderer instead of the more common deferred renderer.
What is Deferred Rendering ?
Deferred Rendering is a method, where instead of directly computing the color of every pixel, you instead store the parameters needed in an intermediary texture called the G-Buffer, and then use that to compute the final image.
The main advantage is that, when the G-Buffer is made, the only remaining pixels are those that are going to be shown, which means that you can do the expensive computations only where they are needed. Those are usually lighting computations, thus allowing us to support a lot more concurrent lights. An additional bonus, that is used by countless algorithms, is that you can now access neighboring pixels’ information. Uses include Ambiant Occlusion and Edge Detection, among others. This is what I’m interested in for this article.

The method I’m going to show’s main objective is emulating the G-Buffer, which will then allow us to access neighboring pixels. This isn’t exactly a G-Buffer, since the method will include the result of the lighting computation, hence why I call it the Pseudo G-Buffer, or PG-Buffer for short.
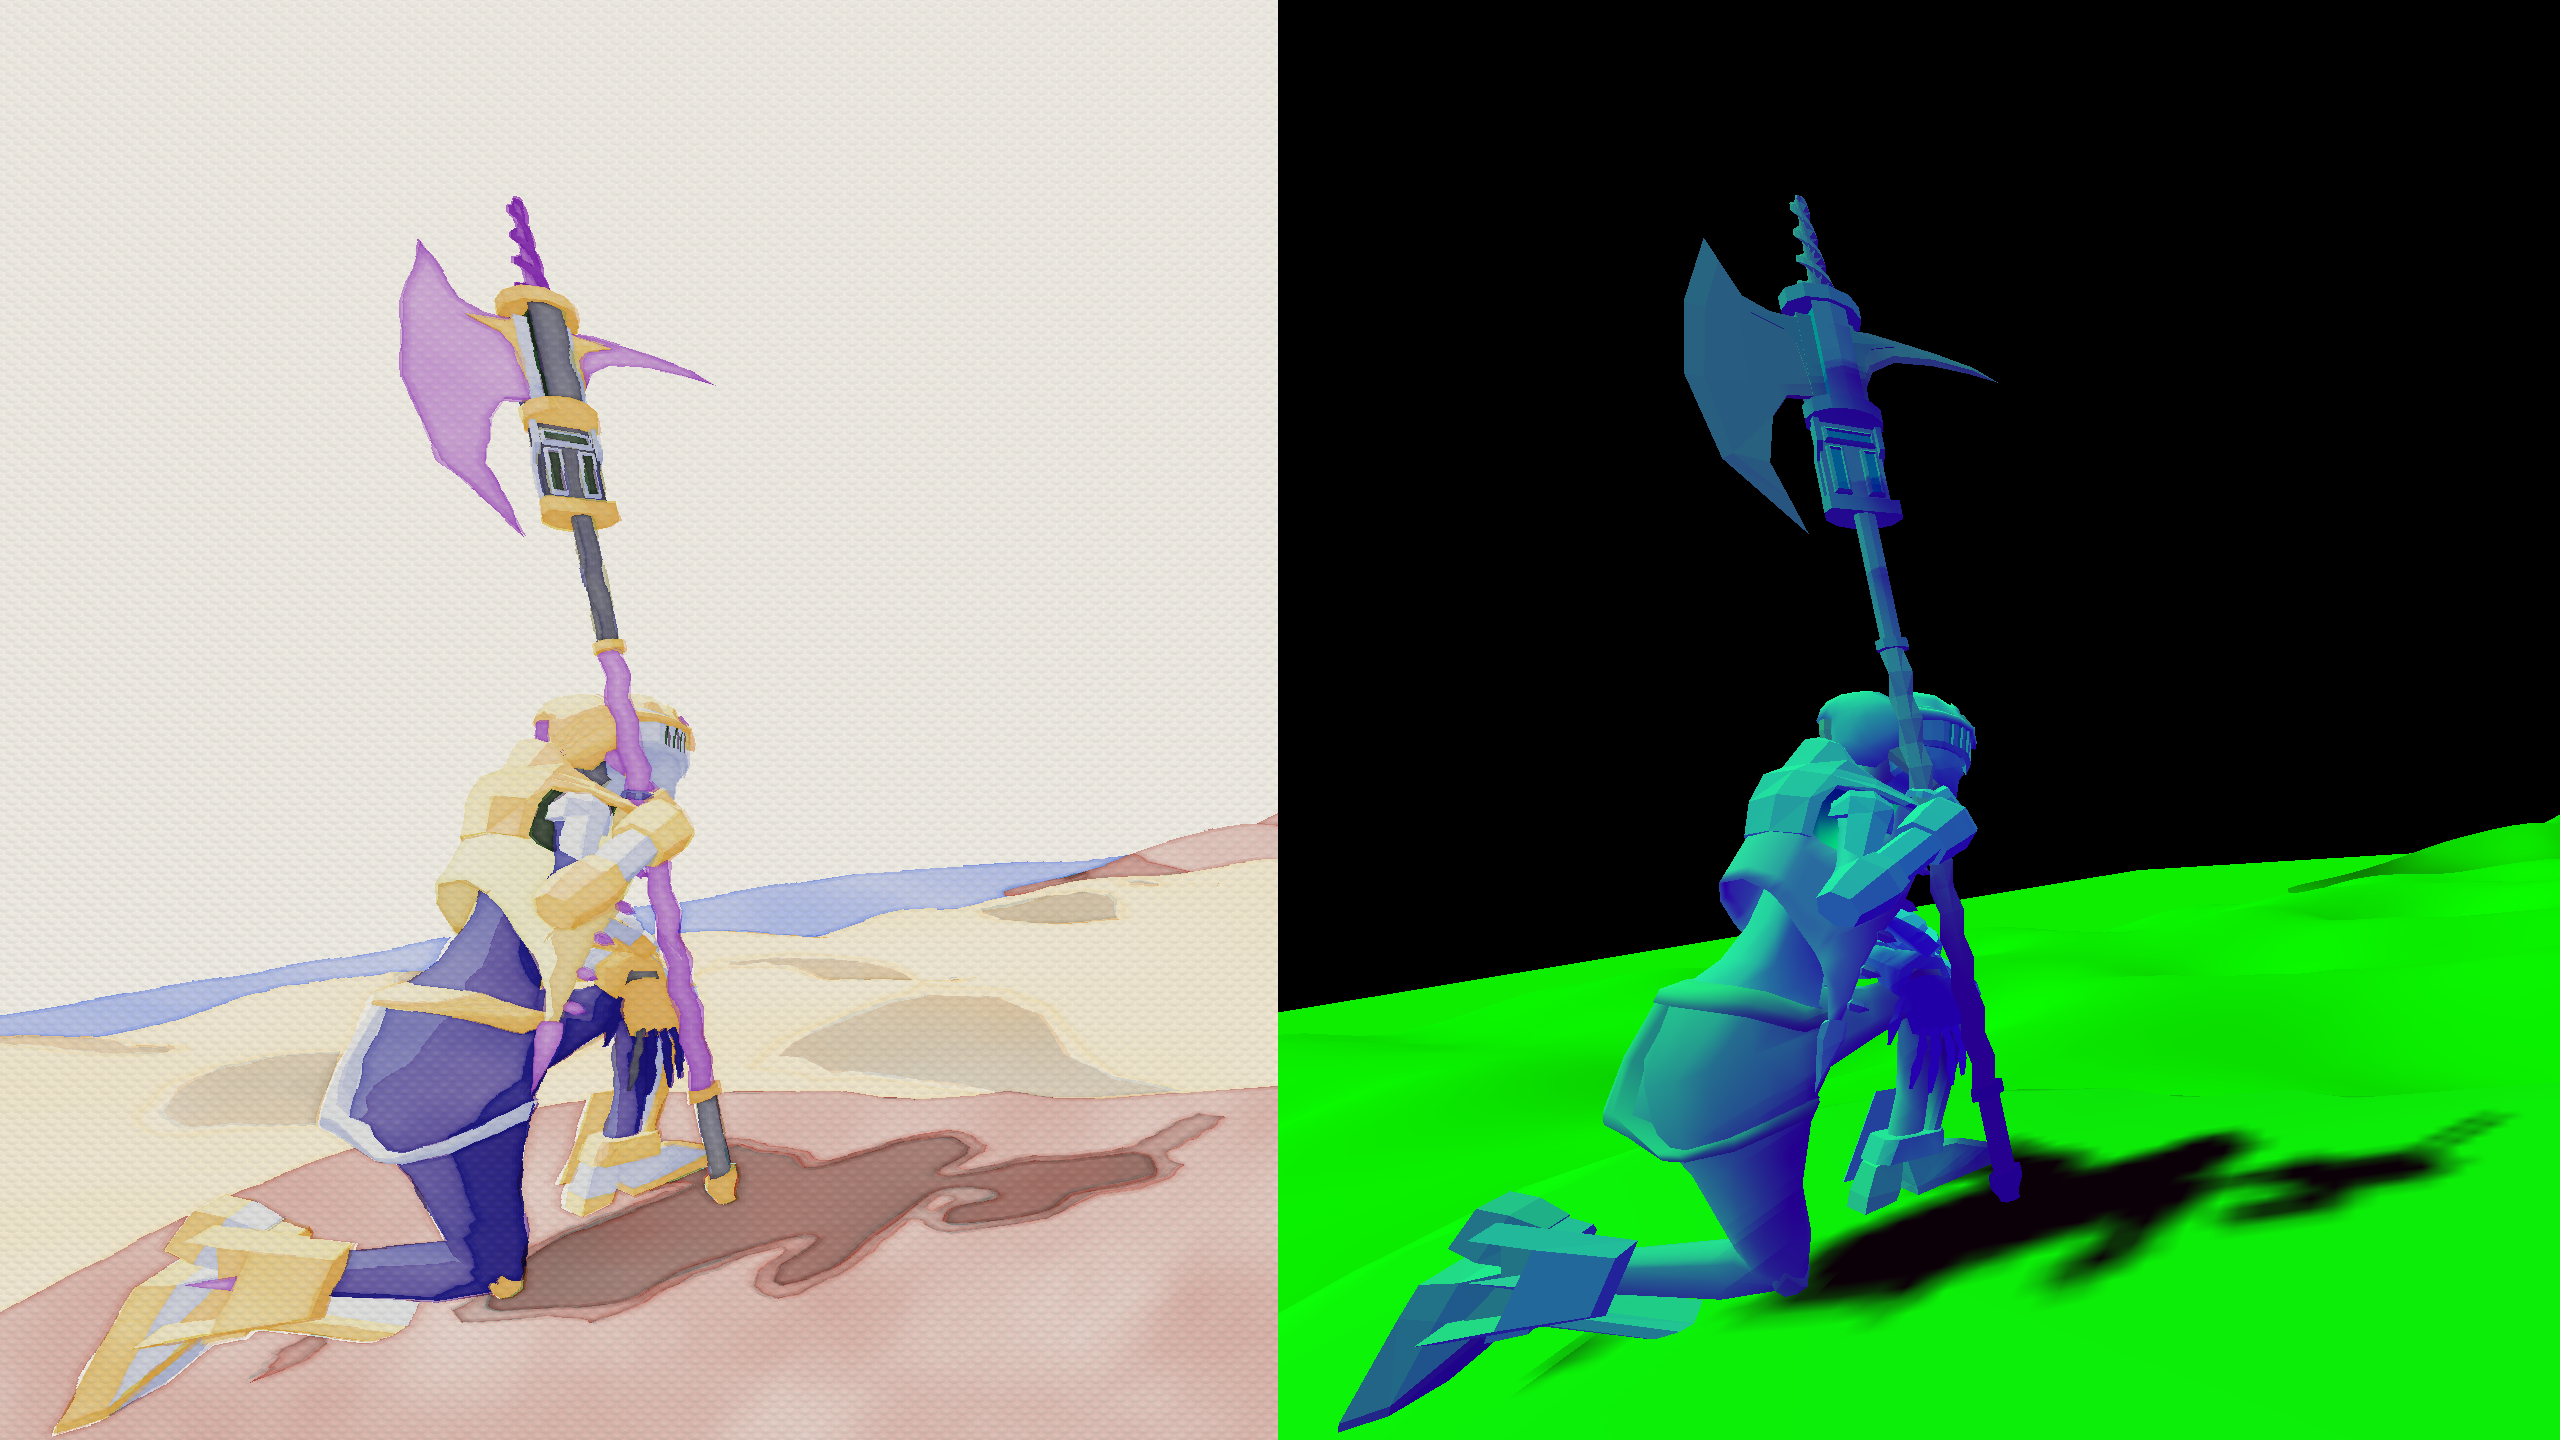
This is the method used by my Watercolor shader. Here it is alongside the corresponding PG-Buffer. This couldn’t be done without that buffer, as it is needed for the deformations and pigment density computations.
You can download the example project here : https://github.com/panthavma/2021-11-29-godot-rendering-pipelines. It has two example scenes, one with a node architecture, and the other with code, plus the previewer.
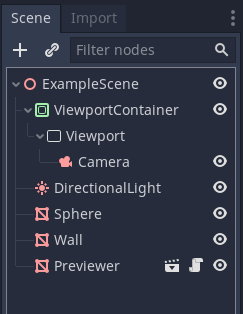
Node tree architecture
The architecture itself is pretty simple : a root ViewportContainer, containing a Viewport, which contains a Camera. The ViewportContainer has a canvas_item shader using a ViewportTexture of it’s child Viewport, which it will then sample for whatever algorithm it needs.
Why this specifically ?
The root node being a ViewportContainer is not stricly needed, but by activating the strech property, it will update the size of the Viewport automatically. Nice !
The viewport-camera structure is then mandated by Godot itself : a camera will render to the first viewport it finds above it in the hierarchy (the root node of the tree itself being a Viewport).

You then need some specific configuration for the ViewportContainer and the Viewport.
- Viewport :
- HDR = false : Keeps the values to 8bit for consistency.
- Keep 3D Linear = true : Avoids the conversion to sRGB which will mess up your values.
- Handle Input Locally = false : Avoids mouse events getting to the Viewport.
- Update Mode = Always : Ensures the viewport will keep getting drawn.
- ViewportContainer :
- strech = true : This will automatically update the size of the Viewport to the size of the control.
- material -> ressource -> localToScene = true : Mandatory to link the ViewportTexture.
Finally, you need two shaders, one for the PG-Buffer, and one to use it. Let’s start with the first one.
The PG-Buffer shader is mostly going to be used to store data, which means it will be pretty simple. The biggest trick here is computing and passing along the lighting computation, which must be done in the light() function. Here I am storing it in the green channel.
|
|
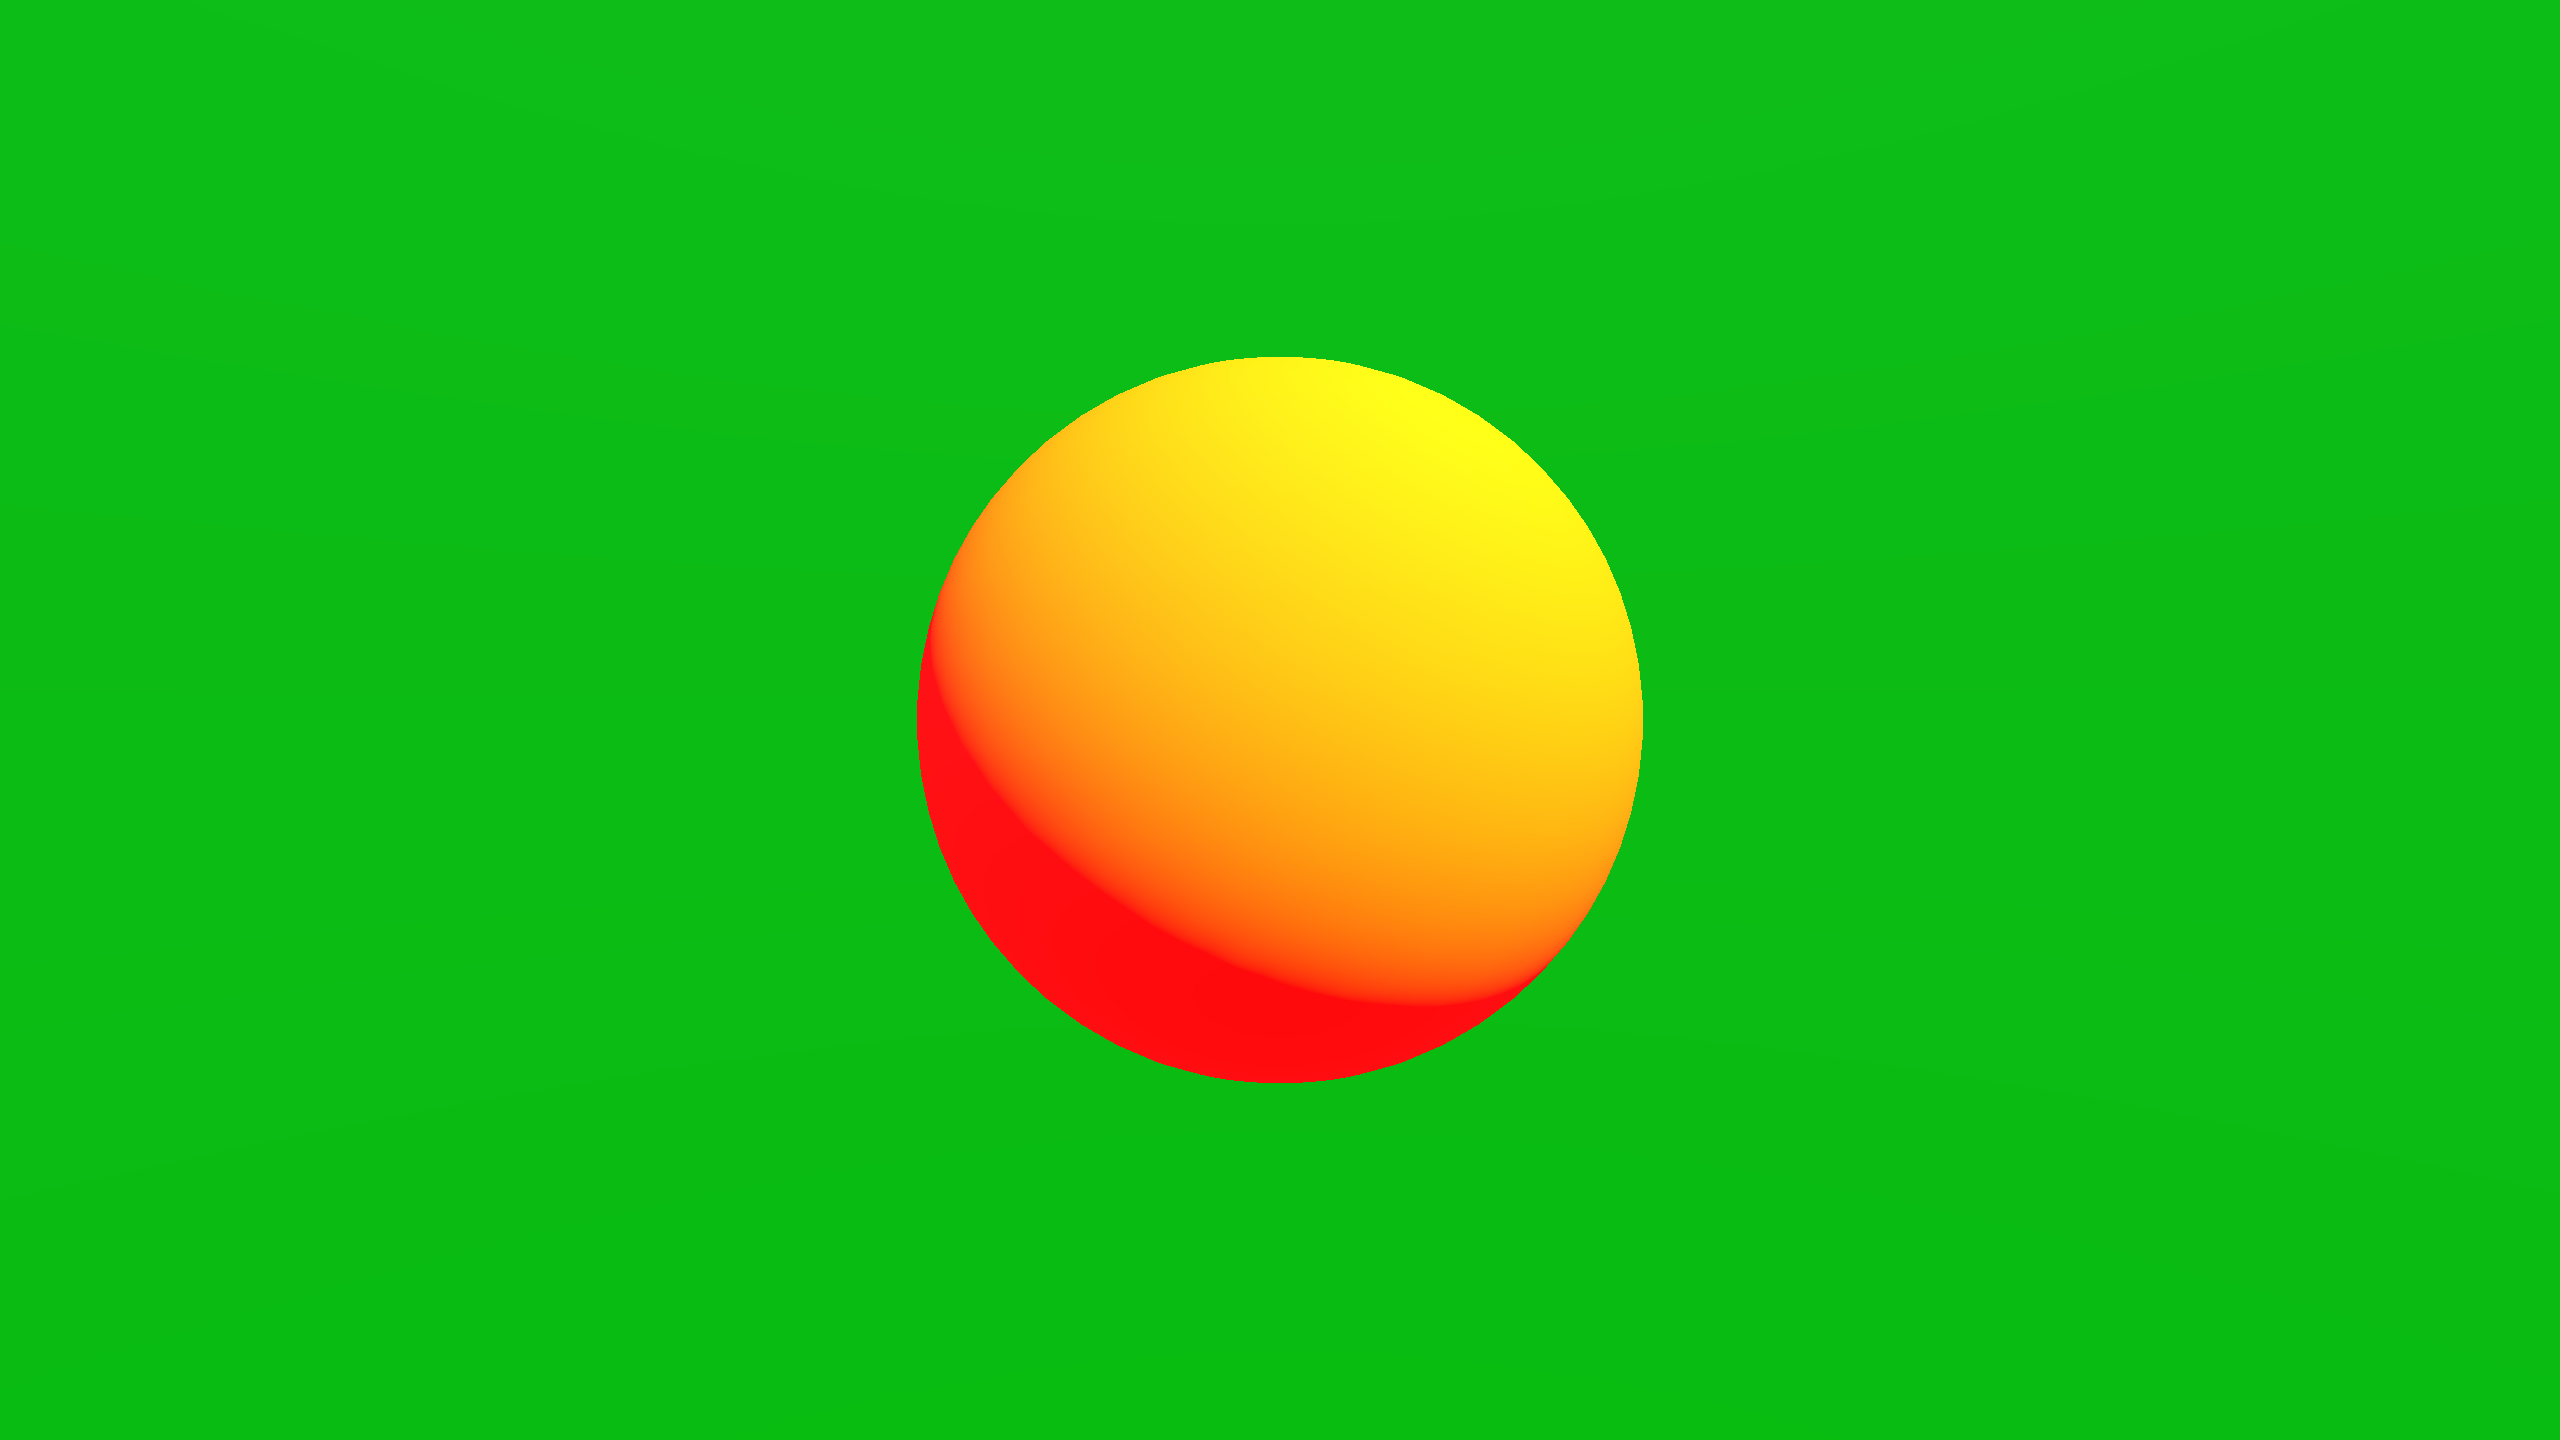
And then, the full-screen pass shader. This is where you’re going to use the data of the previous pass to display whatever you want. Here I’ll do a simple hardcoded toon shading to show what can be done.
|
|
A Second Viewport
Do you want more channels, like a regular G-Buffer ? Unfortunately, while I didn’t find an easy way to add an arbitrary number of buffers, I can give you a second one for a low effort (and a second render of the scene).
You simply need to add a second Viewport like the previous one with these additional settings :
- Debug Mode = Unshaded : Won’t execute the
light()function, and thus show us the albedo directly.
|
|
I also use the second buffer in the Watercolor shader to store some additional info.
Previewer
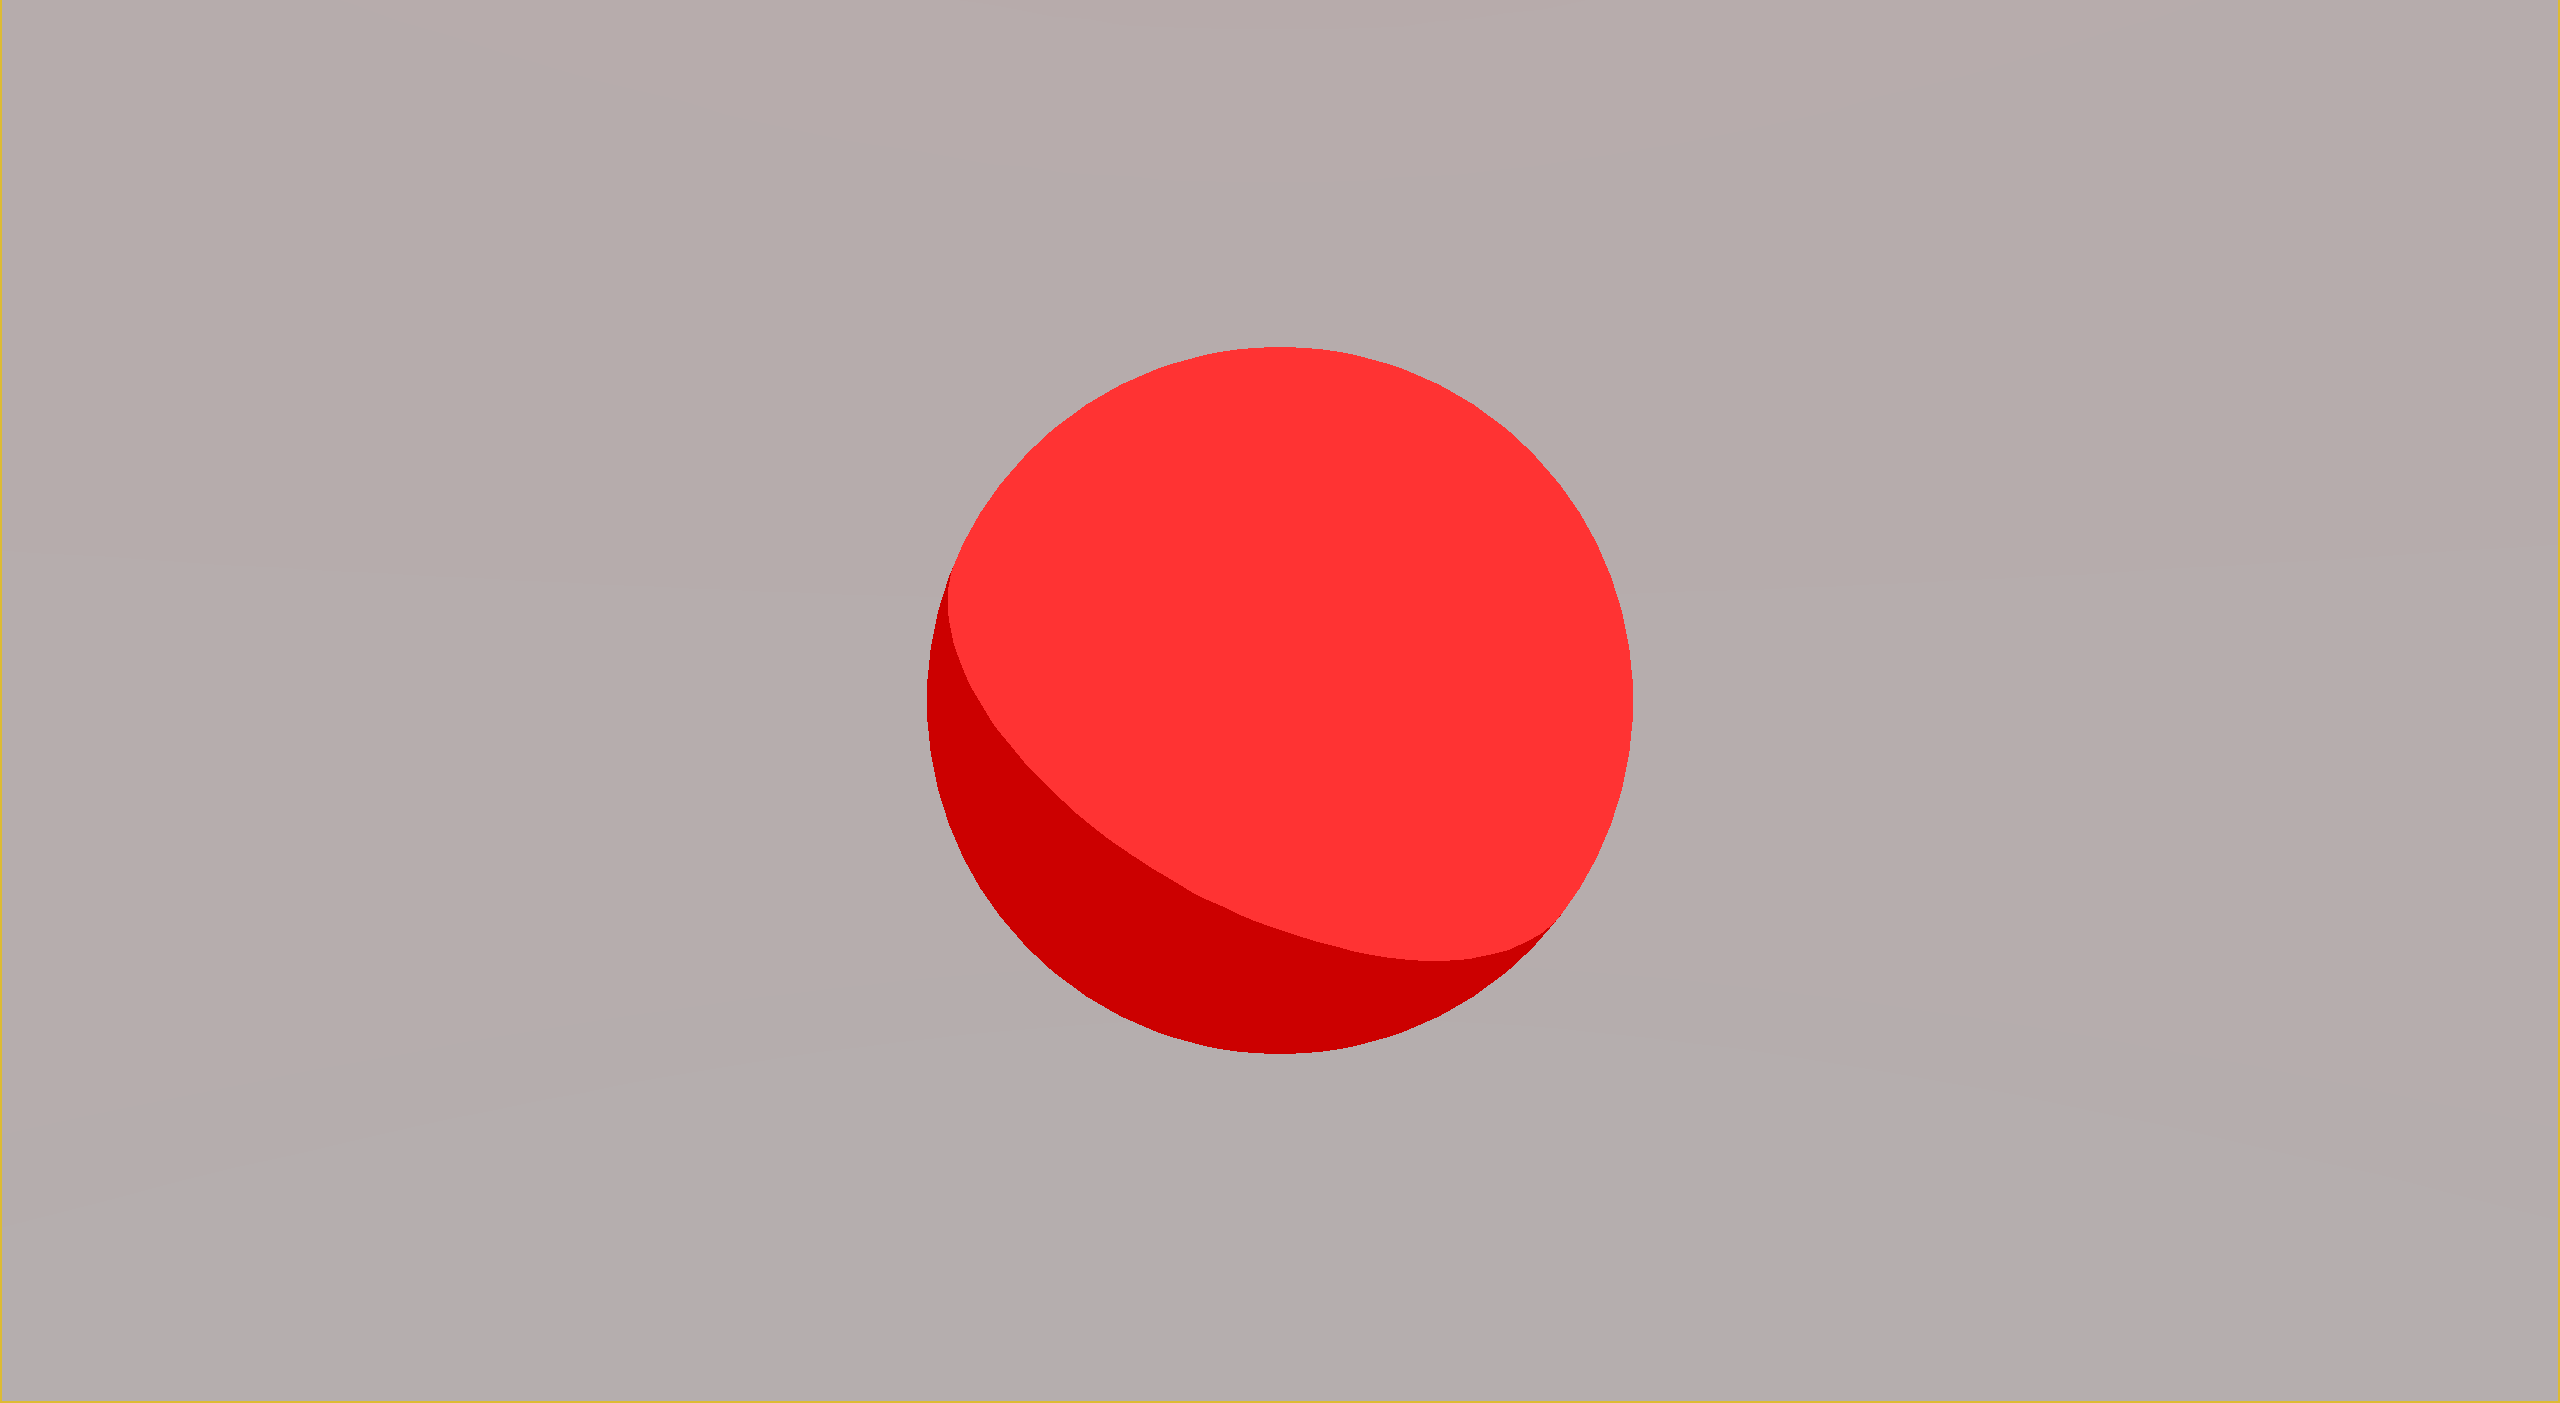
This might make working on your game difficult while in the editor, seeing a colorful green landscape. Here is my recommendation : a simple MeshInstance scene that you can put in whatever scene you’re working on, that will autodestruct when the game starts. You should use a simple shader there to display whatever you need. The limitation is that you can only use the light buffer (or the unshaded buffer if there are no lights).

Here is the previewer version of the Watercolor shader. Notice that there are no fancy effects, because I don’t want to maintain two versions of the same shader, just get a global idea of the color.
Here is the code for the shader :
|
|
Doing this through code
Now for the fancy part : not having to fiddle with the node tree yourself. It’s mostly going to be the same as what we did earlier, just now using GDScript :
|
|
This will however require refreshing the ViewportContainer. At the time of writing, I haven’t found a clean method to do it, so I force a window resize. Please let me know if you have a better one. I’ll update the article as soon as I know how. EDIT: It works if connecting to OnSizeChanged. Added this to oddlib.
|
|
OddLib Shaders includes that method
I’m going to plug my own lib here, grab it if you want : https://github.com/panthavma/oddlib
It has that same code wrapped in an interface to make it easier to do and debug.
|
|
Nice!
In Conclusion
Here you have the method that has served me well to make shaders in Godot. Usually game engines annoy me because I can’t get in depth in the rendering part, but this is freeing enough so that I can have the awesome development part of Godot, while having a good base for fancy shaders. I just hope that as time goes on, we will get even more features to make it even more flexible.
Sidenotes
Godot 4 ?
This was done on Godot 3.3.2. Godot 3.4 allows passing info from
fragment()tolight()usingvaryingso that’s a nice improvement for this method. I’ve heard that Godot 4 might allow writing directly to buffers ? That would be really nice!"

Finer points
Bit-Depth & HDR : Right now I haven’t expored the possibility of having more bits through HDR since I didn’t need to for now. I’ve also sometimes had problems with exact precision, so I’ve started using only 7 of the bits. I’ll follow-up on this later when I will need it.
Performance : Seems fine, I can still run at the frame cap on my computer. I haven’t done an extensive search yet, so I won’t be asserting anything more. Some of the profiler’s values seemed weird however, especially how many shaders are used per frame.
Why don’t we use the fullscreen MeshInstance method ?
The first reason is that you only have one buffer. You do get access to the DEPTH_TEXTURE however, which you don’t with Viewports. The second reason is that you have less control, since you can’t do multistep processes or change the size easily. Finally, I’ve seen it bug on other people’s computers, and since I can do the same job in a better way (for my purposes), I haven’t investigated why. I do use it for the previewer since it works in the editor, whereas the Viewport method does not.
How to force a refresh from the code ? (concerning the hacky method)
I only did a quick search. I think there might be a signal or function to do it, or maybe by changing the anchor itself. I’ll update the post if I find anything.
EDIT: It works if connecting to OnSizeChanged. Added this to oddlib.

Full control of the rendering pipeline
At the time of writing I haven’t found a way to get full control, and force rendering of certains Viewports. I’ve heard it can maybe be done through the VisualServer. The most we can do easily is through
update_modeon the Viewport, although I haven’t tried it yet.