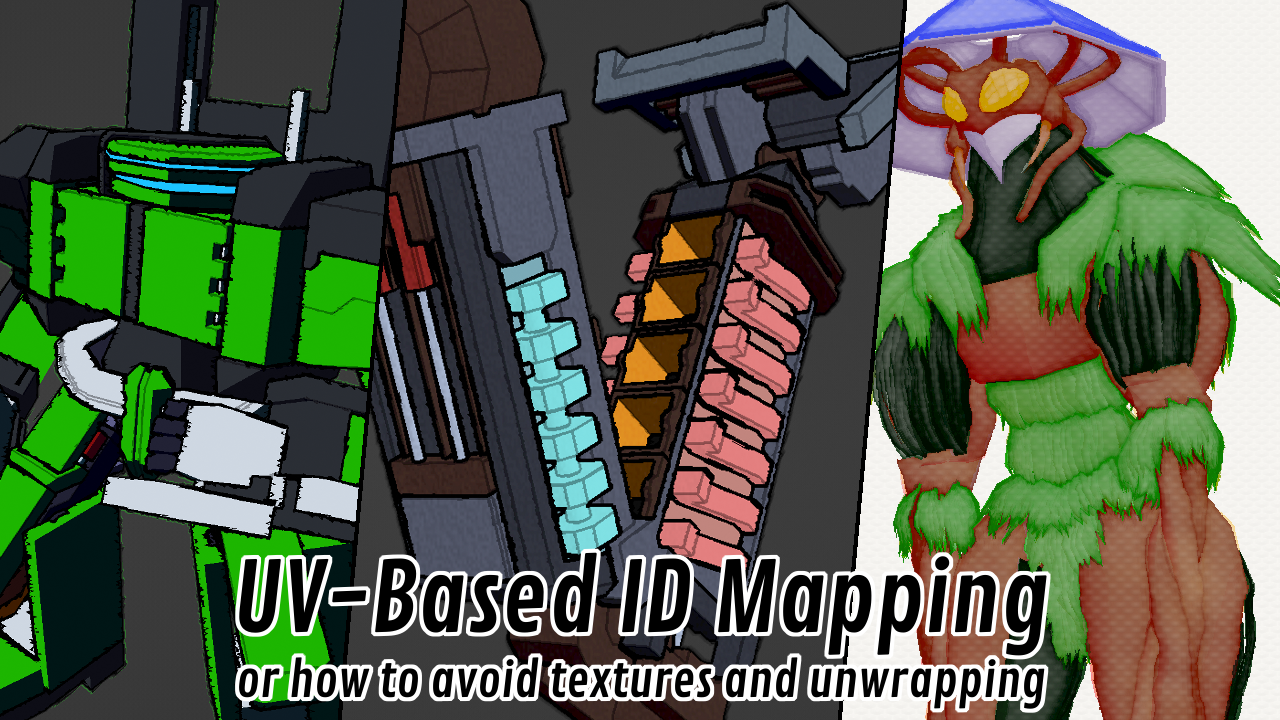
UV-Based ID-Mapping
or how to avoid textures and unwrapping
Hey hey, let me share with you a quick lil’ trick today. A modeling one, not so much rendering this time.
You know, the classic modeling workflow has some loooong parts that aren’t the most stimulating. Retopology. Skinning. UV unwrapping. And unfortunately, sometimes you have to do them.
This kinda goes against a lot of what I do when programming, especially my love of software architecture to allow me to write less. So you betcha I was always looking for ways to avoid or simplify those.
Today, I’m sharing with you my special trick to avoid UV unwrapping AND texture work. Whether you are able to apply it or not depends a lot on your style and pipeline, but it does work wonders for me, and you might adapt it. I’m gonna walk you through the process, then the trick itself, and finally some uses!
Origins
I’m gonna let you in on a secret: I don’t know how to make textures.
Well, there’s a bit more to the story than that – I actually AM able to make some simple textures and unwrapping. But, it’s certainly not a part I practiced at all since I started using Blender in 2004.
The important point however, was that when I was learning Blender, I was figuring out a lot of stuff. And part of what I couldn’t really get comfortable with was the whole UV-unwrapping to texture workflow. Like, I understood it conceptually, but it felt super impractical, and I was having a lot of trouble.
Over the next years, I mostly did programming. I opened up Blender a bit more later on towards 2010, when I started making 3D games. I still had that problem with textures and couldn’t solve it, so I instead used straight materials. The funny thing is that, at this point I didn’t know how to draw, and my skill only improved based on what I was able to do in 3D.
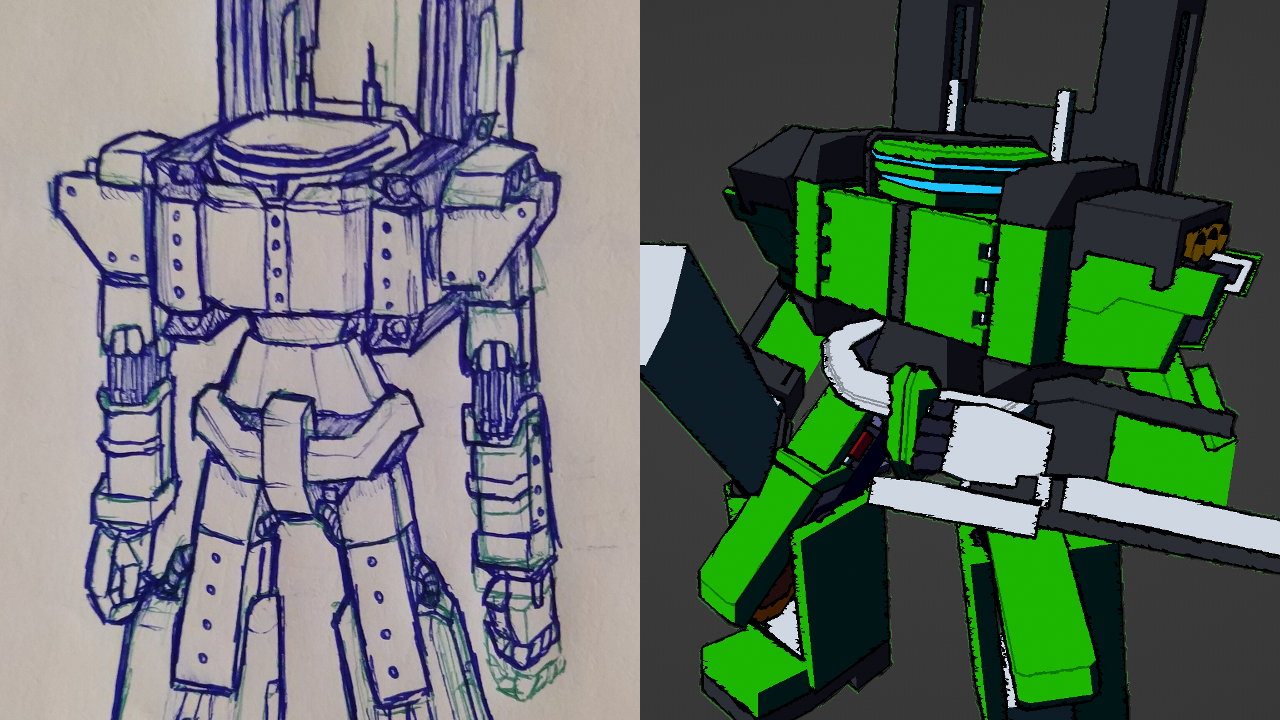
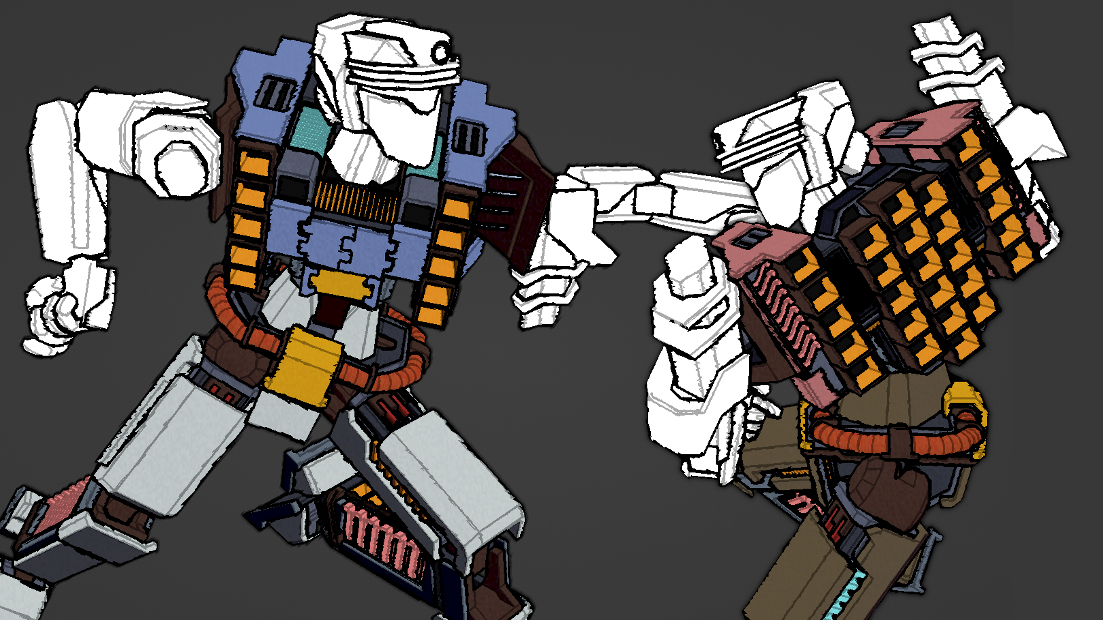
What this resulted in is that, my inability to draw textures naturally made me draw in a style that wouldn’t require them – more focused on cleanly-separated color blocks and linework. You can definitely see that in my mech designs for Kronian Titans.
The big challenge of the style was adding actual color instead of my usual “draw with whatever pen I happen to be holding in today’s class”.
You can probably make the argument that me sucking at Blender brought me to stylized rendering, and you’ll probably be right, but I told you all of that story to put things into perspective and maybe give you some confidence in your weird methods.
This reminds me of a quote I’m not able to find again that went something like this: “if you put off practicing kicks one day you’re lazy, if you put off practicing kicks ten years you made your own style”. I think I read it in a PatTheFlip article, so I’ll cite him instead:
“In other words, your style comes from trying to solve a problem you cannot solve with your existing skillset. Sometimes your style will involve “practicing to do the thing until you’re good at it”, and sometimes your style will involve “finding ways to avoid doing the thing you can’t do”. As you get better, you’ll find alternative solutions as well. All of these solutions to your initial problem become elements of your style, formed by your attempts to work around creative constraints. This is a critical part of acquiring any creative skill early on, but it’s even important for high-skilled people too.”"
- PatTheFlip (“How do I develop my own playstyle?”, Sep 2020)
I think that’s a nice perspective. In general I really enjoy his views on fighting games, and the tools he showcases. Since they are about learning skills, they tend to transfer over to a lot of domains too.
The technique
So hey, after all that, here’s the concept:
Use UV as a way to assign an ID instead of using a texture, then grab your data from it.
Boom, done. Easy trick.
That doesn’t help a whole lot on its own, so let me help you understand it.
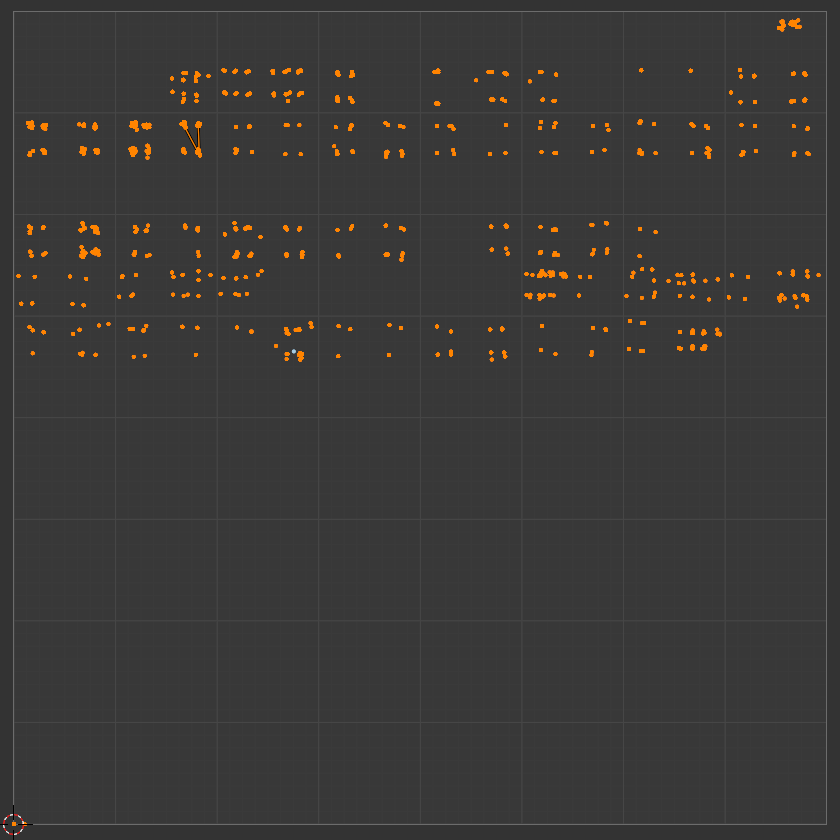
The basic idea of UV-mapping is to assign a vertex to a point in the texture map. Here, I’m using that interface for quickly assigning data to faces and vertices. I just select a zone I want to assign to a material, and just move the vertices at the correct place in the UV map. Doesn’t even need any texture here!
To make this simpler, I cut my UV in regular intervals: a 16 by 16 grid, for a total of 256 IDs. It already is somewhat separated in Blender’s interface so it’s not very tricky to do so. And as a bonus, it is trivial to get it back in a shader!
Isn’t this the same as having 256 materials? Pretty much. The “cleverness” of the trick is really the interface, and its ease of setup. What does it do better then?

The guide texture I use for Kronian Titans. It has numbers to help find the correct zone quickly, and a visual indicator for the subparts. Feel free to use it!
Advantages
Assigning materials this way is a lot faster: That one is somewhat personal preference, but scrolling to the correct material on such long lists can be tricky. This allows a quicker way, that is a bit more visual, and also scales well.
You can derive IDs automatically from this: This is useful, because the rendering engine might not. The other method would be creating a material for each ID and putting it there, which is less than ideal.
You can add additional data from the same place: In a similar way, you can continue to subdivide the grid even further. I tend to do that to create “subparts”: I cut each tile into 4 or more, which allows me to put an additional parameter in, like finer data for line detection, or lighting changes.
Maps really well to current pipelines: The fact that this doesn’t require any new fancy bindings, just the UV, makes it really easy to implement. And in the other way, it’s really easy to add a texture back and be okay with it.
Makes transferring to game engines really easy: If you used materials, you would be required to remake them when importing the asset into the game. Here, I have no need for that, everything goes on without any issue, which skips another long part at the same time.
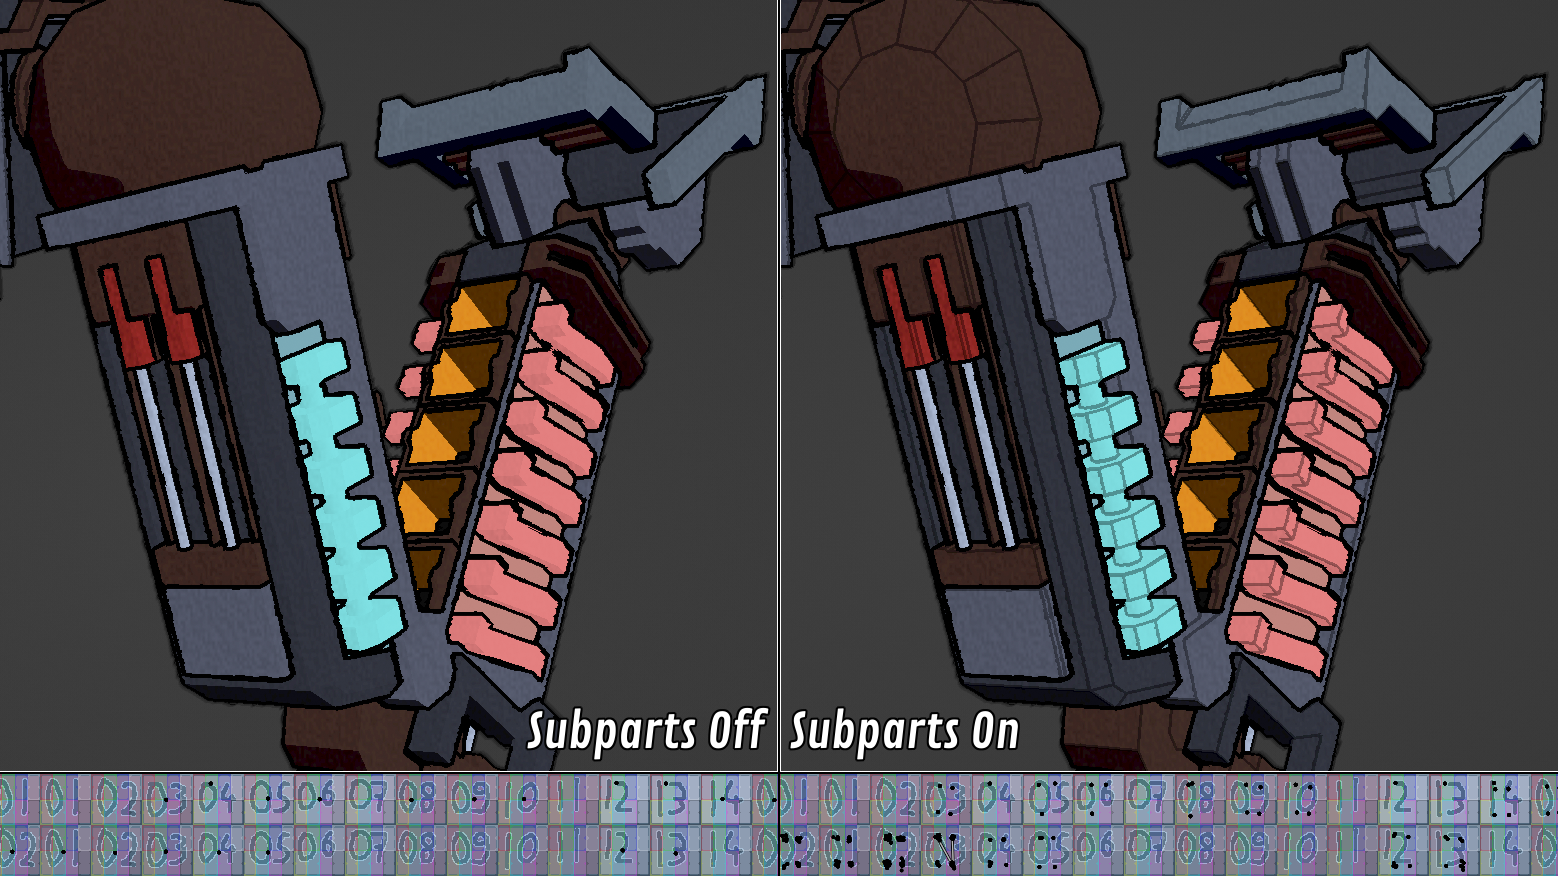
Having the subparts be this accessible can really help give some additional flair quickly to the models.
Disadvantages
Requires vertex detail: The flipside of not using textures is that you kinda forgo the mesogeometric detail that they allowed. It can be prohibitively expensive to add very small details, but it doesn’t tend to be an issue for stylized rendering as you’ll often have simplified designs and lower polycounts anyway.
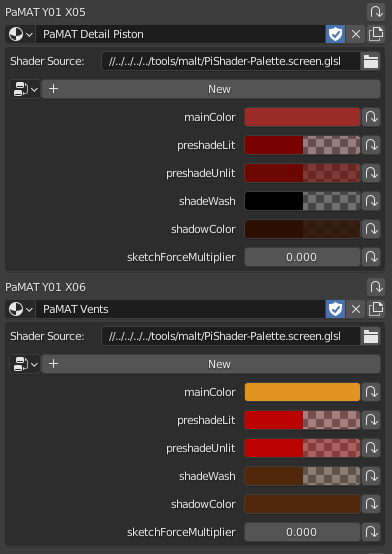
Harder to alter: You still can’t create data from nothing, so you’ll need to store color somewhere. Either you use a simple texture you can modify with your favorite editor or Blender, or you make a more complex pipeline, which is what I did. I went through a few iterations, but with Malt I tend to add all my ID slots as world parameters, and let it rock.
Can spillover: This is the real issue. This method fundamentally puts a sort of limit on your materials and their storage, and you have to manage the mapping yourself, as if you don’t you’ll step on other objects. For me it’s not a big deal as I work solo, but care should be taken when implementing this. (Funnily enough, fighting games actually do benefit from this structure).
This is not ideal, especially if you start having even more of them, but at the moment it’s the right mix of “somewhat easy to use” and “easy to implement”.
Uses
Alright, so we saw it in theory, but let me show you why it’s THAT useful in practice. There’s a fair amount of uses, more or less direct, and as a “general” method you can find more!
Fallback
First of all, it’s always good to have a backup plan if the engine (or surprise new use) doesn’t really support your ambition. This method still allows you to use textures, pretty small ones at that, to do the rendering as usual. Just make your textures like you used to!
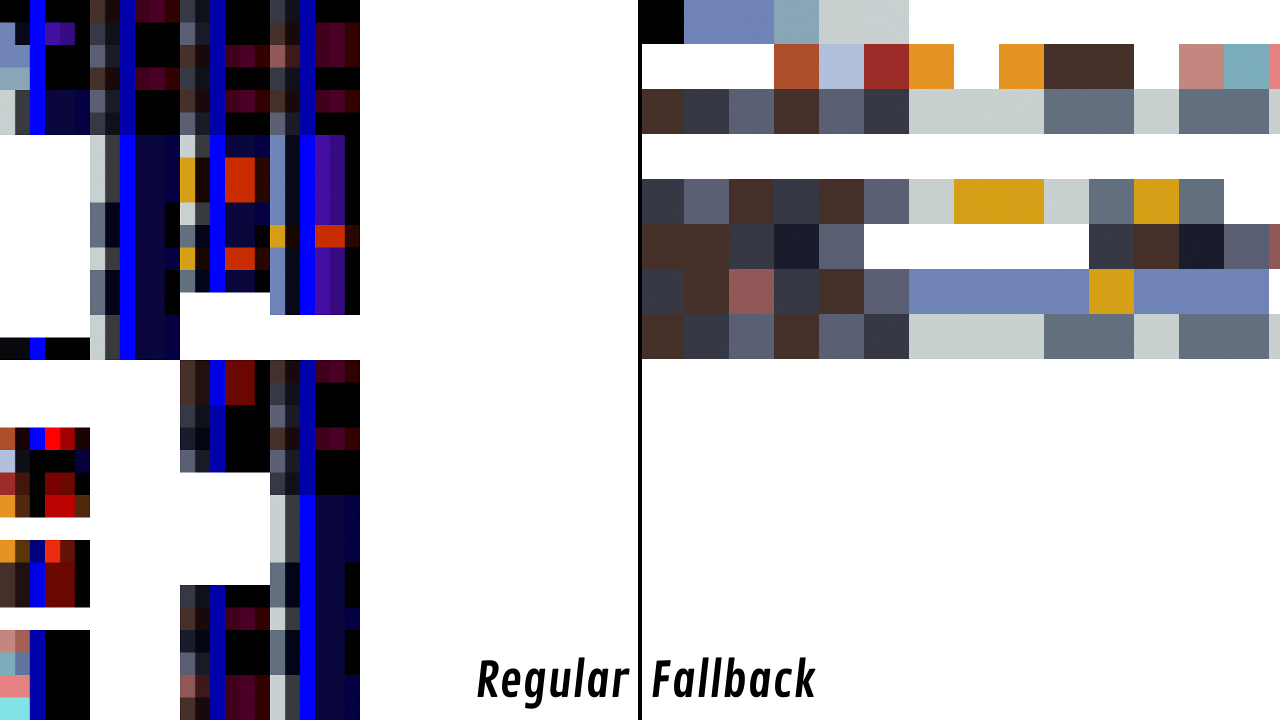
Seems obvious, but it’s useful more often than you expect. Indeed, sometimes you have to use another rendering pipeline, for a promo render for instance!
Complex Materials using IDs
That one is a bit more technical, but you can definitely get a lot of mileage of the ID to get some indirect references. Instead of storing everything in runtime buffers, just store them in a texture beforehand and get them from there!
By using texels and the cache in a smart way, you might get a lot of info pretty quickly, but that’s a bit outside the scope of this article. :)
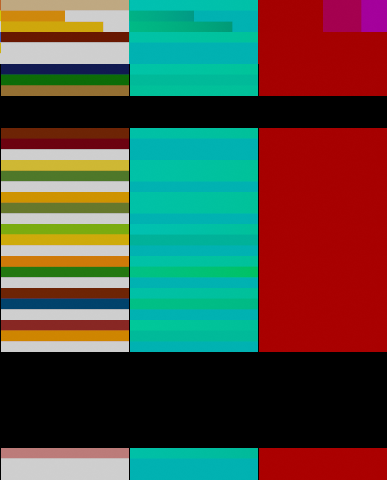
Here, I store several toon ramps (9) for each material in my Watercolor Shader. Pretty useful!
Additional control
Similarly, you can use the subparts to get a few more information per vertex in an easy way. You can derive a few additional bits you can interpret in the second part.
In this example, I use it to change the incoming lighting on my models, which allows me to artificially shade a part.
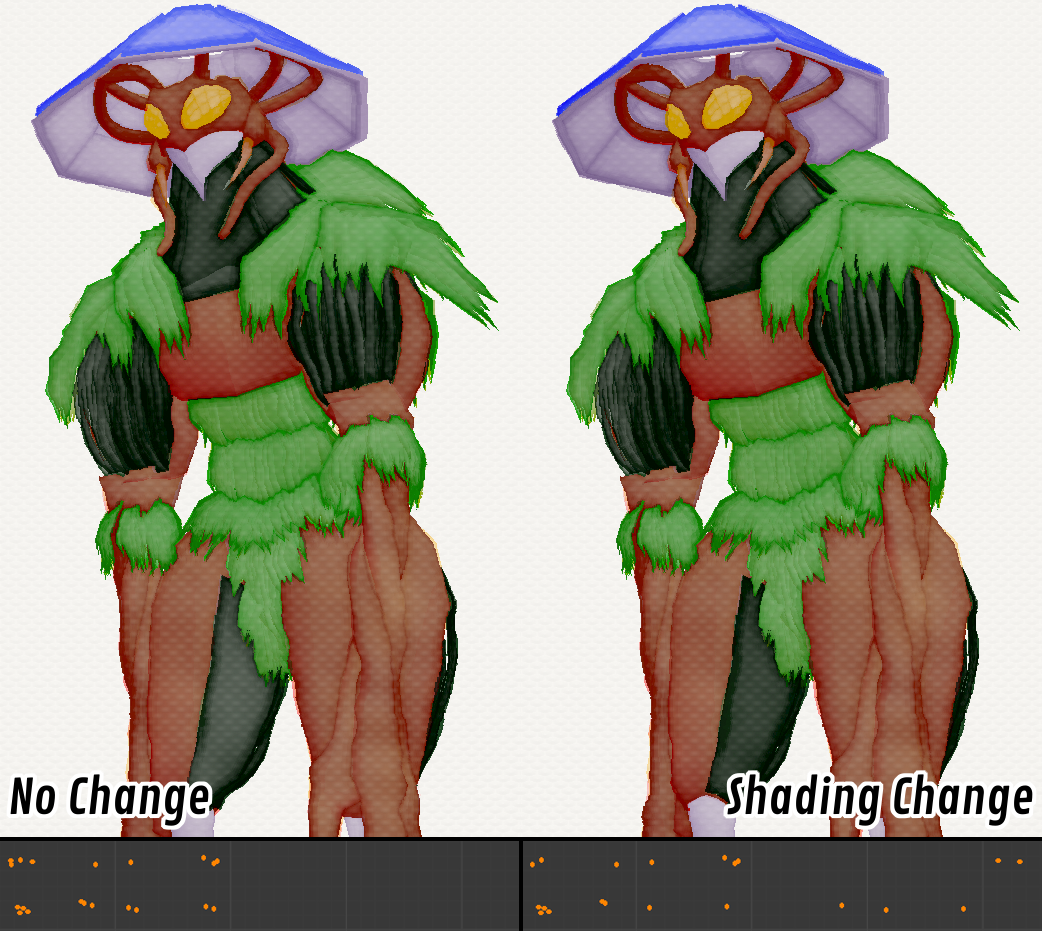
It’s a quick and easy way to adjust things a bit!
ID-based line detection
That one is the BIG one: high quality lineart! There’s a lot of methods for this and I’ll make an article on it soon-ish, but ID-based lines is one of the better algorithms, and this makes it super easy to do so!
This is basically the main part of Kronian Titans’ style, which combined with subparts allows me to also find some smaller lines!
The nice thing, is that these lines are guaranteed to be detected correctly and with very few artifacts. And that’s just a byproduct!
Palette Swaps
Finally, a little trick to wind down: it makes it really easy to make palette swaps. Since all your materials are stored in a reference texture, you can change only that and be on your way. Pretty painless to program too!
This sounds really specific, but it actually has some REALLY strong uses by being able to change the whole render depending on lighting conditions, which I use in Aeianthos at times to enhance scenes and ensure pleasing color gamuts.
If you’re making a fighting game, it maps really nicely and avoids spillover naturally, so it’s a really nice fit!
Conclusion
So yeah, that trick works really well for me and my workflow. It saves me tons of time, and allows me leverage to add some nice effects for my styles!
All in all, what I wanted to showcase with this article is that there’s no one true way to make 3D art. Pipelines exist for a reason sure, they do make high-quality asset creation predictable and compatible, but that might not be the exact way you’re going.
By using key technical insights, you can make the pipeline work for you instead of conforming to it. There’s a lot of possibilities there, and by the very tailored nature of stylized rendering, there’s a lot of potential to unlock and enhance your renders!